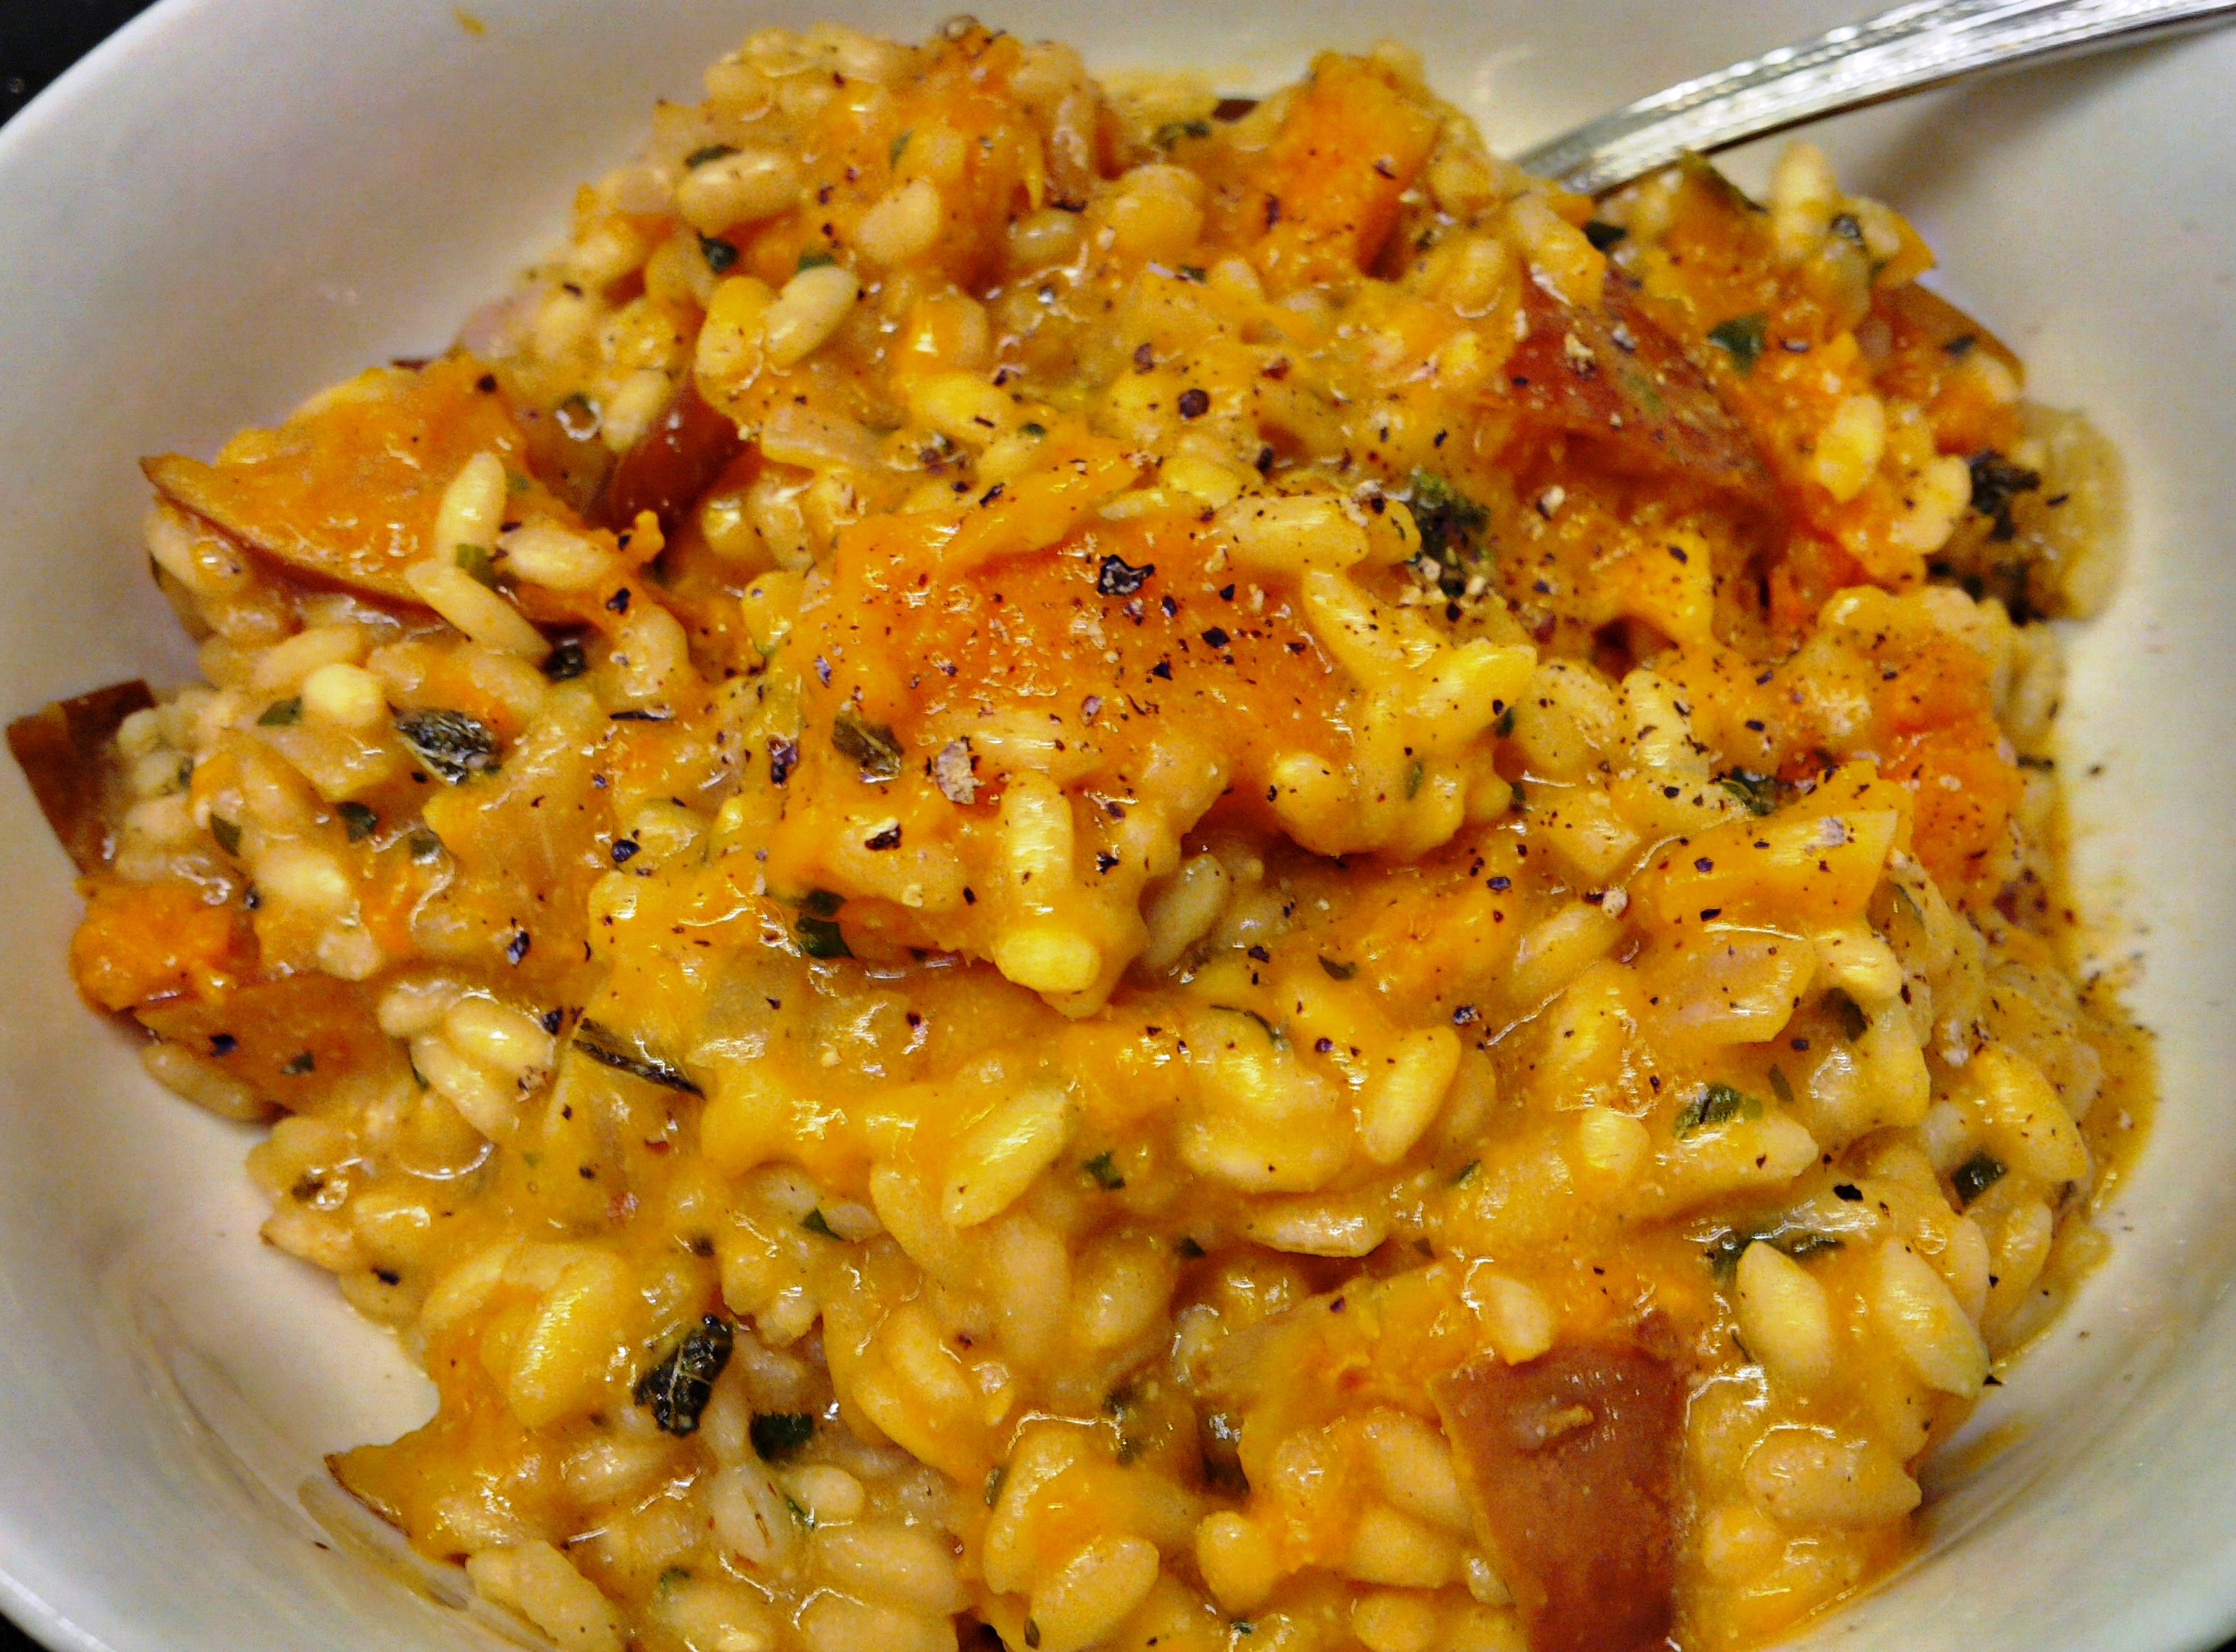
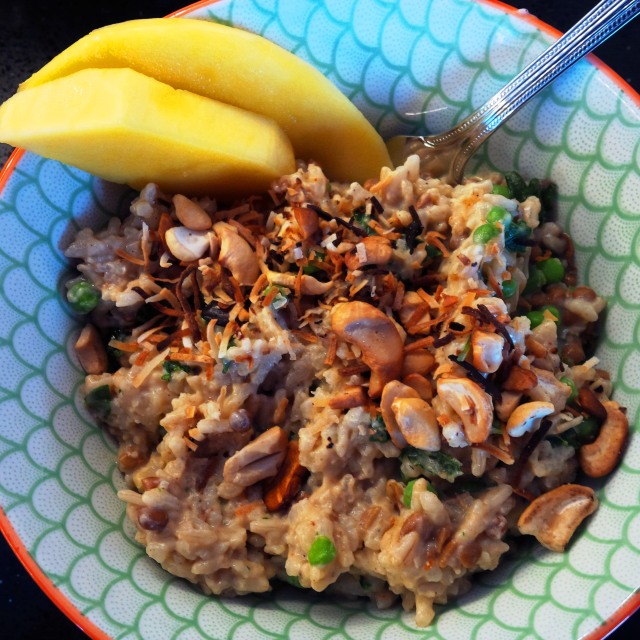
Oh, this dish just oozes comfort and joy for the fall and winter season. It’s creamy, sweet, satisfying and impresses the heck out of people you serve it to.
So, think your risotto won’t be any good without cheese or butter? Try this!
If you have 30 to 90 minutes you have time to make this dish and wow yourself and a friend. The risotto takes just 30 minutes to make, but you do need about 40 minutes to roast the pumpkin or squash, which you can do the day before.
Making risotto is a bit of an exercise in faith. You just have to believe it’s going to work because halfway through the process, the pan will look like a messy failure. But it always turns out.
This recipe makes 2 generous servings or 3 appetizer size servings.
Ingredients
1 cup Arborio rice (must be Arborio rice)
3 cups vegetable broth
1 Tbsp olive oil
1 Tbsp vegan margarine
1 large shallot finely minced (or 1 clove garlic minced and ½ onion minced)
1/3 cup (or so) of dry white wine (optional – but it’s an excuse to crack open the wine!)
½ tsp cumin
I small pumpkin or squash. I love thin-skinned heirloom squashes that don’t need to be peeled. For this recipe I used a honeynut squash.
3 Tbsp nutritional yeast
1/2 to 1 tsp ground black pepper
1 -2 cups fresh spinach chopped finely.

Directions
Prepare your squash. Heat your oven to 400F. Wash the squash and cut it in half. Remove the seeds and place the squash halves on a cookie sheet cut side up. Drizzle the squash with olive oil and sprinkle with salt. Roast the squash for 40 minutes until it’s fork tender and golden brown in spots. Remove from the oven and let the squash cool. If you’re using a thin-skinned squash, just cube the squash. If you are using any other type of squash, remove the skin and then cube the vegetable.
Heat the broth in a saucepan so it’s at a low simmer.
In a large frying pan or skillet, heat the olive oil and margarine.
Add the shallot (or onion and garlic, if that’s what you’re using) and sauté until translucent.
Add the rice and stir until it’s coated with the margarine and shallots and turning a light golden colour.
Add the cumin and the white wine (if using) and stir together.
Now the magic. This step will take about 20 minutes.
One ladle at a time (about ½ cup), add broth to the pan of rice.
Stir the rice until the broth is all absorbed by the rice. At first the rice will quickly absorb the broth and at the same time it will release its starch, creating a creamy base. As the rice cooks, the broth will absorb more and more slowly. Patience. Listen to music. Ladle. Stir. Ladle. Stir.
In about 20 minutes your rice will be done and all your broth should be used up. The rice will be al dente. Stir in the nutritional yeast.
Stir in the chopped spinach and the cubed, cooked squash and stir together. Serve up and enjoy!


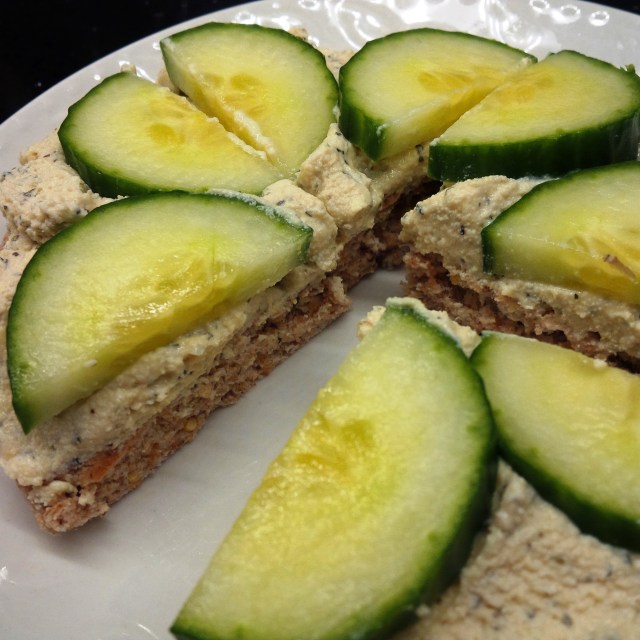
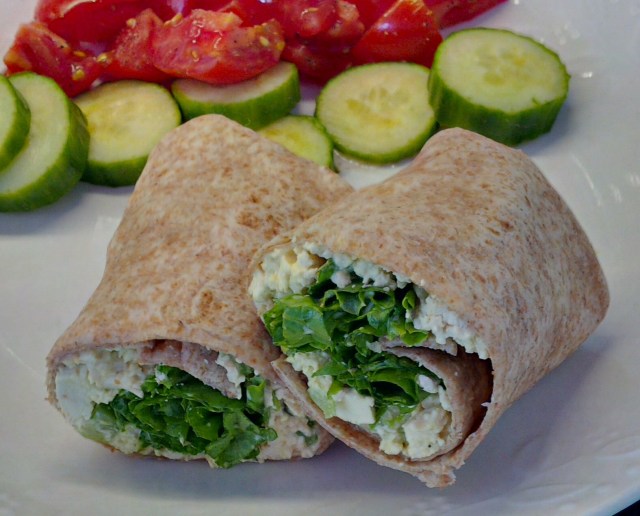 For me, sandwiches are the ultimate easy, comfort food. They remind me of school day lunches, picnics and road trips. Egg salad was one of my favourites and I missed it terribly as a vegan. But no more. This egg salad sandwich tastes just as good as one made using chicken eggs and is actually faster and easier to make since there’s no egg boiling-cooling-peeling activity required.
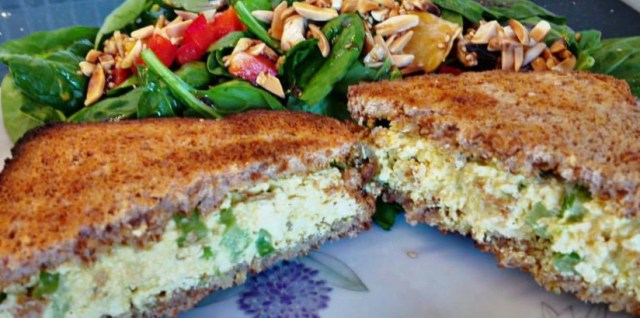


 es the great, firm texture).